Recently, I passed by a Lego store and saw a Lego Master who had created a wall-sized picture using Lego bricks. This made me wonder if I could make one myself - not a whole wall, just something that could be displayed at home like a photo. So I did some experiments and created a 75x75cm mosaic of Kaguya Shinomiya. Below, I'll explain how to go from a photo to a list of Lego pieces that you can purchase and assemble. Obviously, this process has two steps: first, converting a photo into a low-resolution, 8-bit-like image based on available Lego colors; second, generating a parts list and assembly guide based on the different colored Lego shapes. Let's go through each step.
Converting from a full-color photo to a Lego-compatible photo can be easily solved using 3D printing techniques. After some research, I found that most existing solutions have two problems: first, they don't consider actual Lego colors, instead just using system-provided colors, so you need to adjust colors during actual assembly. Second, they don't disable Photoshop's Dither function, resulting in noise. I'll introduce a simple and effective method from a PS operation perspective. Finally, I'll show an example of using a program to significantly reduce the number of pieces and cost.
First, open an image:

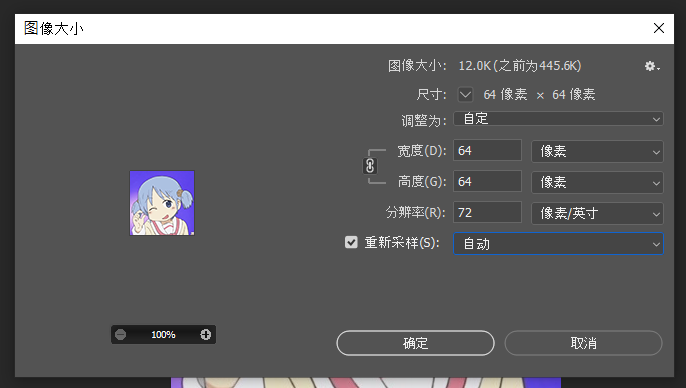
Then use PS to resize to the target size. Here I'm using 64x64 pixels (which will be about 50cm x 50cm when assembled):
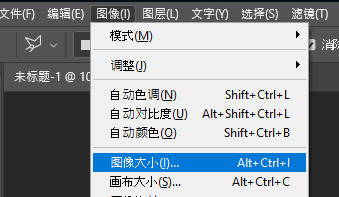

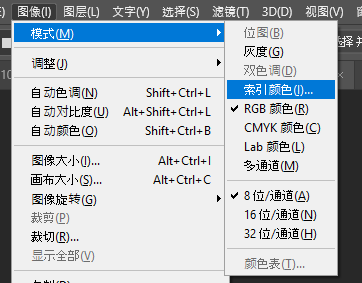
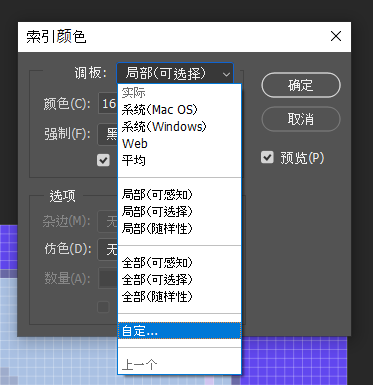
Next, convert to specified colors:
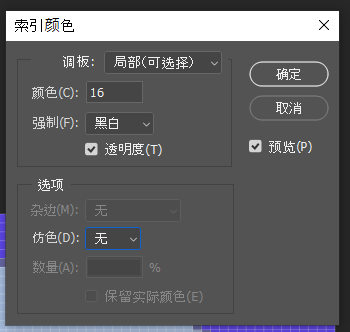
Here's the most important part: Temporarily select 16 colors, force black and white selection, and disable dithering. This will result in more natural colors without noise:

However, this still doesn't take into account actual Lego colors. How many colors does Lego have? If we consider all colors ever produced historically, there are 81 (link). But many are now discontinued. Currently, Lego's official website offers 1x1 bricks in 18 colors (link). Someone compared Pantone color cards with Lego colors one by one to get the RGB values for each color (link). I've extracted the currently available models from the Lego website and organized them as follows:
| Color | Hex | |
|---|---|---|
| Brick Yellow | D3BC8D | |
| Bright Reddish Violet | AF1685 | |
| Light Purple | 981D97 | |
| Bright Red | EF3340 | |
| Medium Azur | 71C5E8 | |
| Dark Stone Grey | 5B6770 | |
| New Dark Red | 9B2743 | |
| Medium Lilac | 330072 | |
| Earth Blue | 003865 | |
| Medium Stone Grey | A2AAAD | |
| Bright Blue | 003DA5 | |
| Medium Blue | 6CACE4 | |
| Reddish Brown | 7A3E3A | |
| Bright Yellow | FFCD00 | |
| Black | 27251F | |
| Sand Green | 789F90 | |
| Bright Yellowish Green | B5BD00 | |
| Bright Orange | FF8200 |
How do we use this information? Specifically, in the color indexing interface above, change the palette to "Custom..." and a dialog box will appear where you can select specific colors:
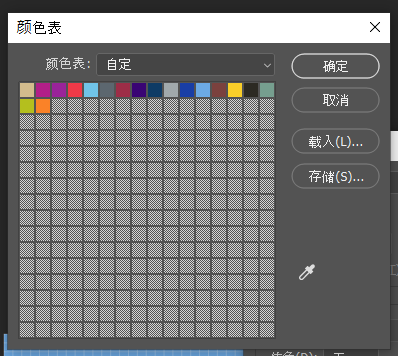
Click on any color to change its RGB value. For simplicity, we'll use the highlighted part (#ffffff) in the image below to edit:
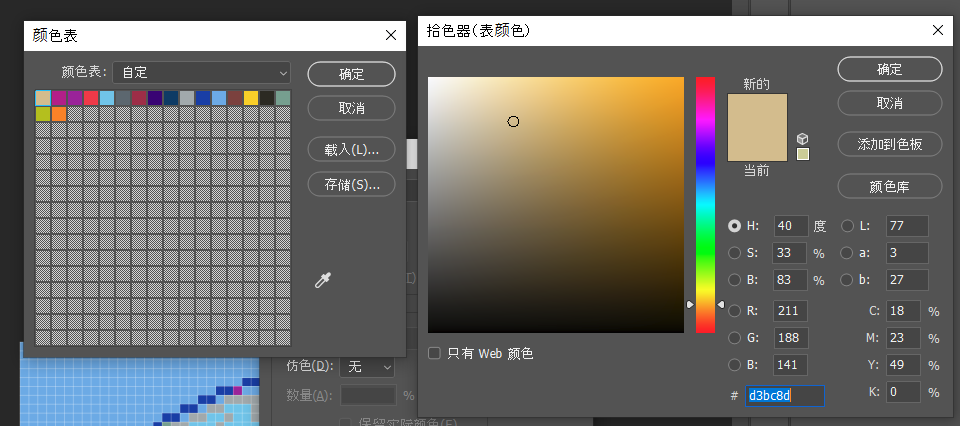
Then input the colors above. After entering them all, PS's colors should look like this:
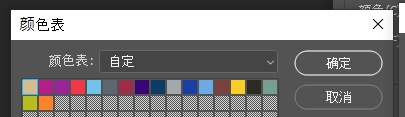
You can click the ... button to save as an ACT file, so you won't have to enter them again next time. Unfortunately, these 18 colors don't have enough yellows, so the result looks quite distorted with most colors lost:
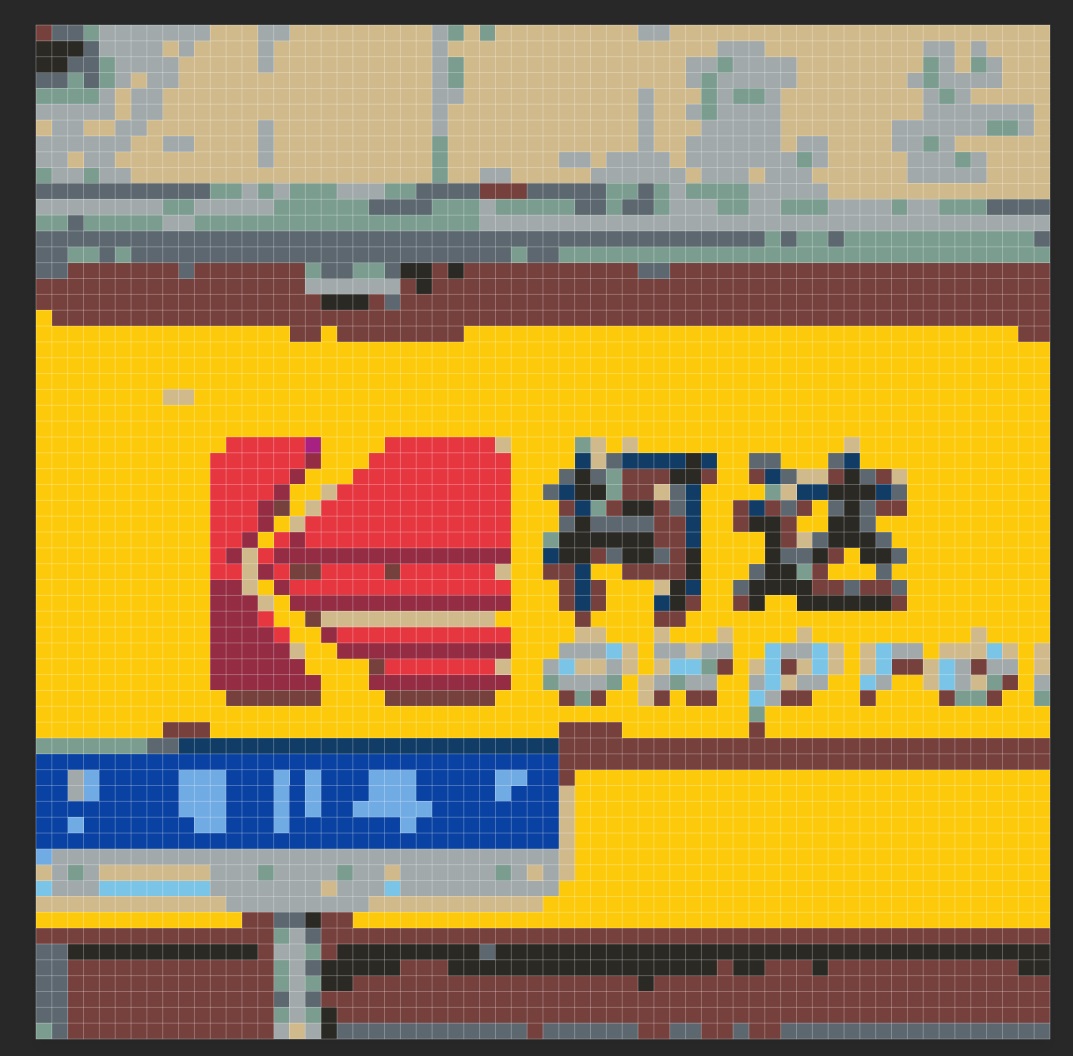
But if we switch to an image with high color contrast (like bright red with bright green), the result is much better:
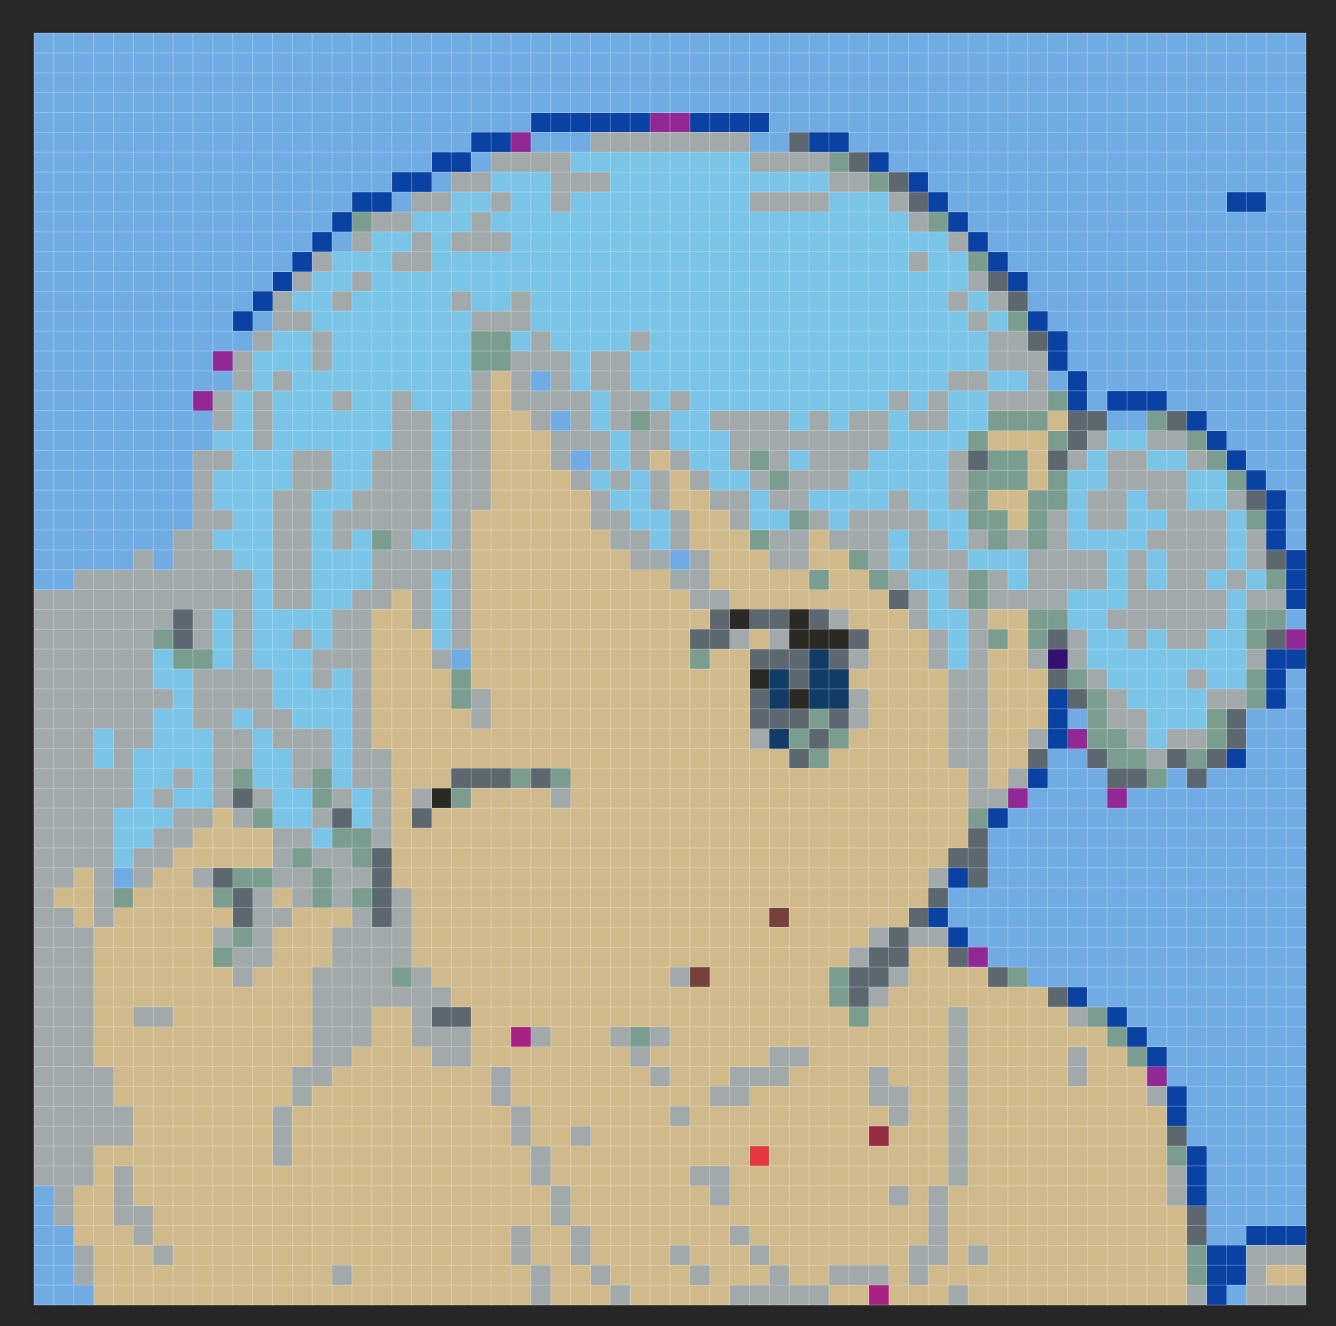
Does this mean we can't do anything about the blue-haired example from the beginning? Not necessarily. We mentioned earlier that we disabled dithering because it introduces noise, which looks quite bad:
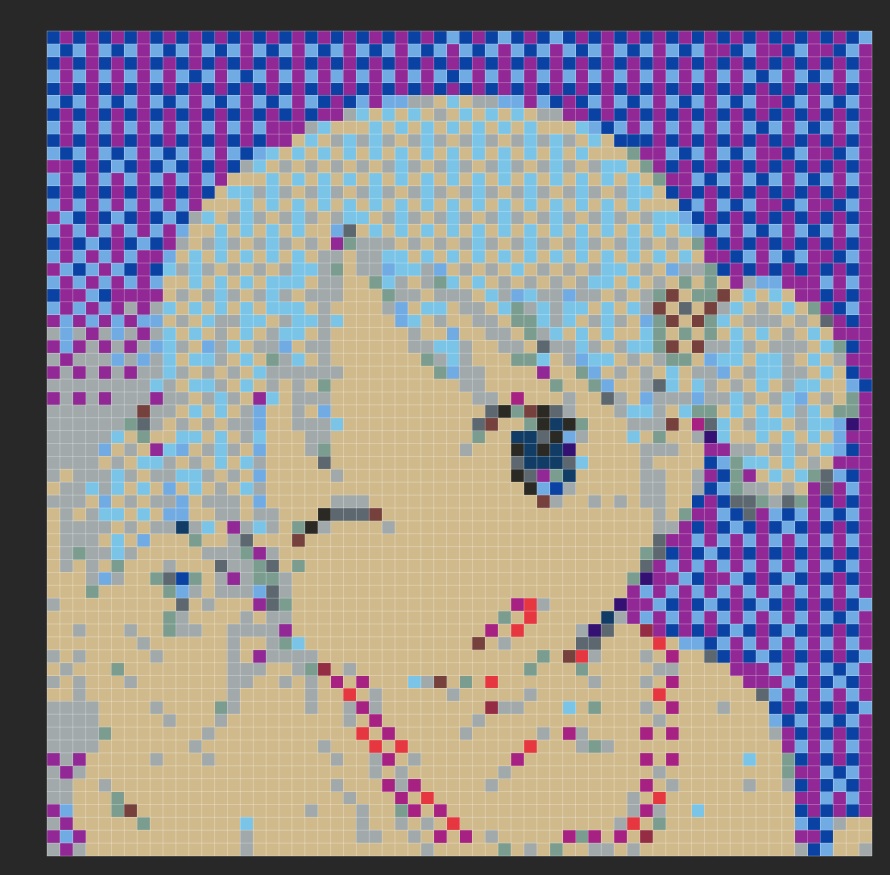
But what exactly is dithering? It's a method of using limited colors to express richer gradients and colors. Because 64x64 resolution is too low, it looks very strange. However, if we want to build a 2m x 2m Lego wall, the resolution can reach 256x256. At this point, dithering becomes very effective (left is without Dither, right is with Dither):

So we can see that for making an awesome Lego pixel art, choosing a photo suitable for available Lego pieces is half the battle. We can also fully automate batch processing by simply sorting by distance in color space. I'll leave this as homework.
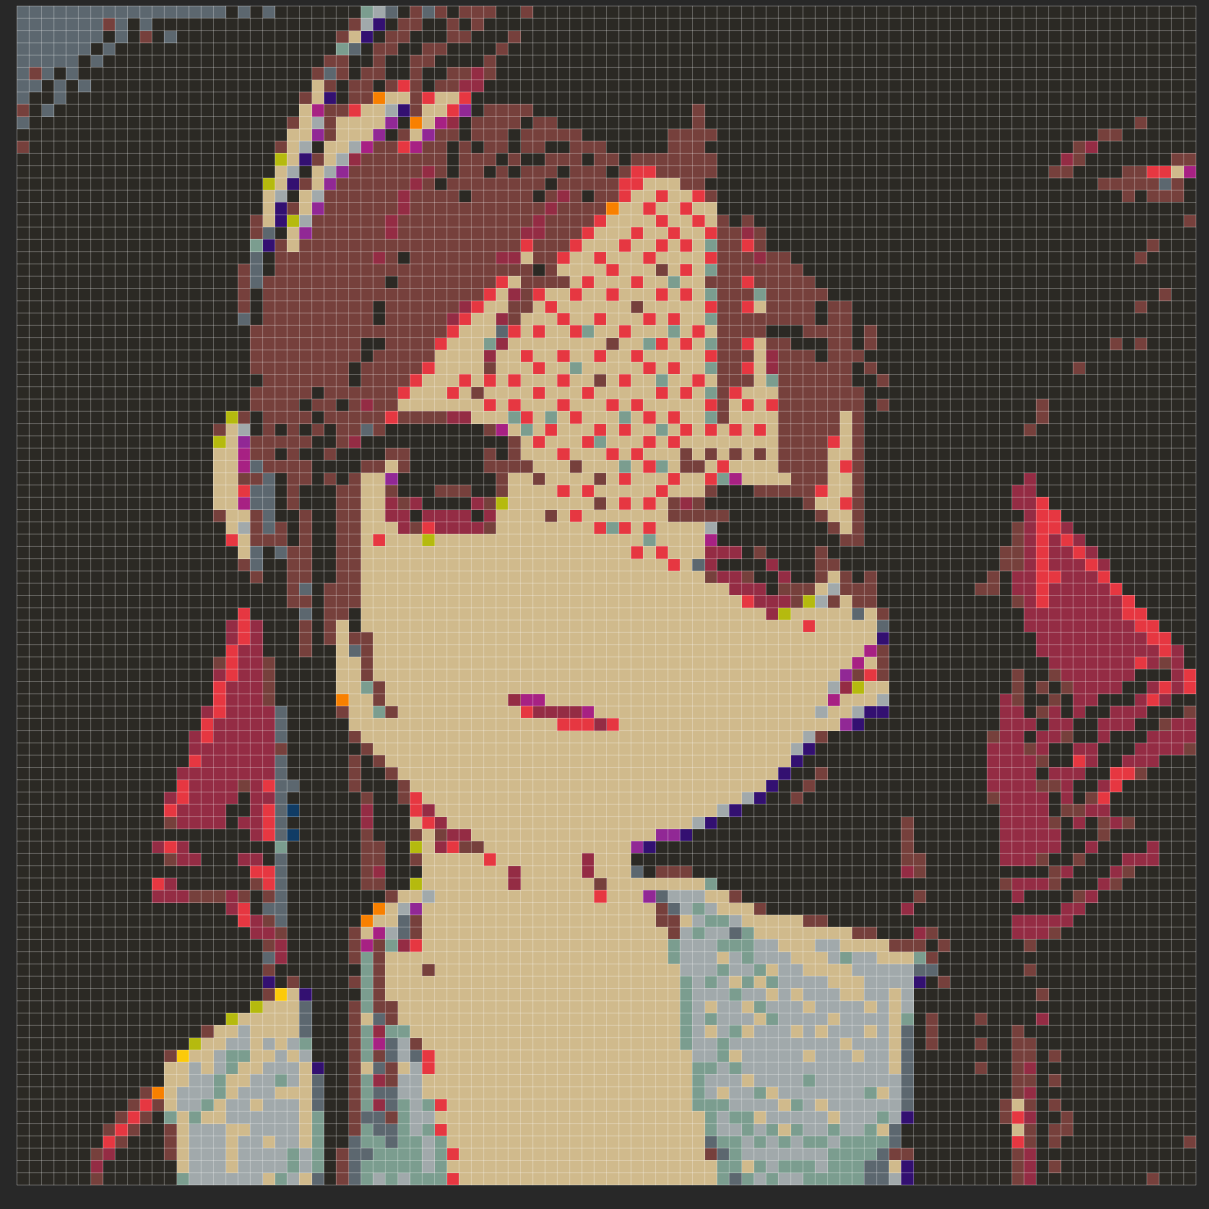
Here are some relatively good examples (96 pixels on the long edge):

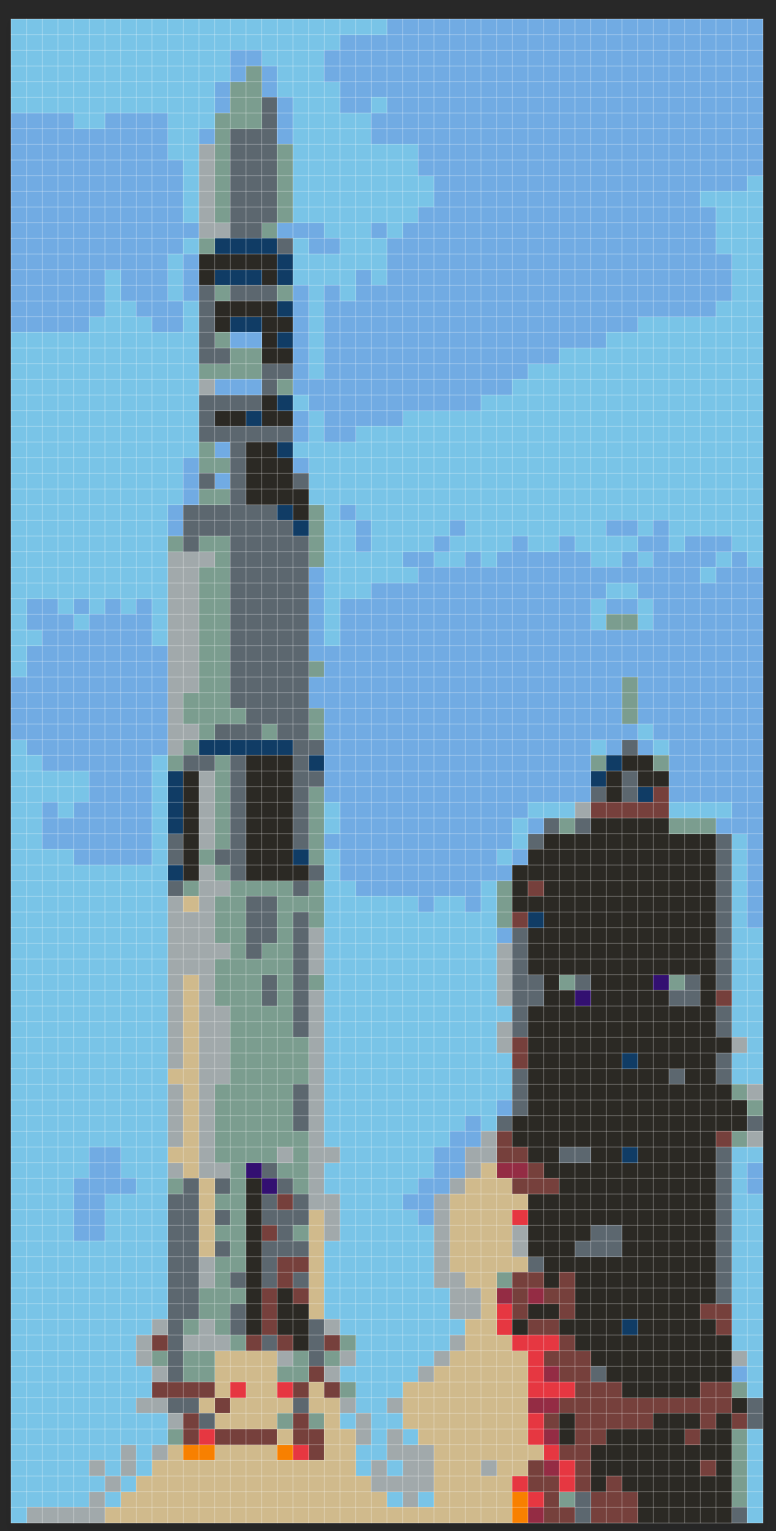
What's next? Many online tutorials end here, suggesting you just go to the Lego website and buy lots of 1x1 pieces. But there's actually a lot of room for optimization. For example, for the 96x96 image above, if you buy all 1x1 pieces, you'd need 9,216 pieces, costing $645. But many pieces can be merged - for instance, eight 1x1 pieces might be combined into one 2x4 piece, saving both time and money. So I manually searched the Lego website for available piece sizes and wrote a program to generate an assembly plan, resulting in the following blueprint:

Using this program, I reduced the number of pieces from 9,200+ to 2,500+, and the cost from around $650 to around $300. After the program output how many of each piece to buy, I placed the order on the Lego website. Customer service said they had to hand-pick the pieces in Poland, then ship them to the US. With customs and everything, it took about a month to receive. Then came the assembly: Bilibili
Here's the final result:
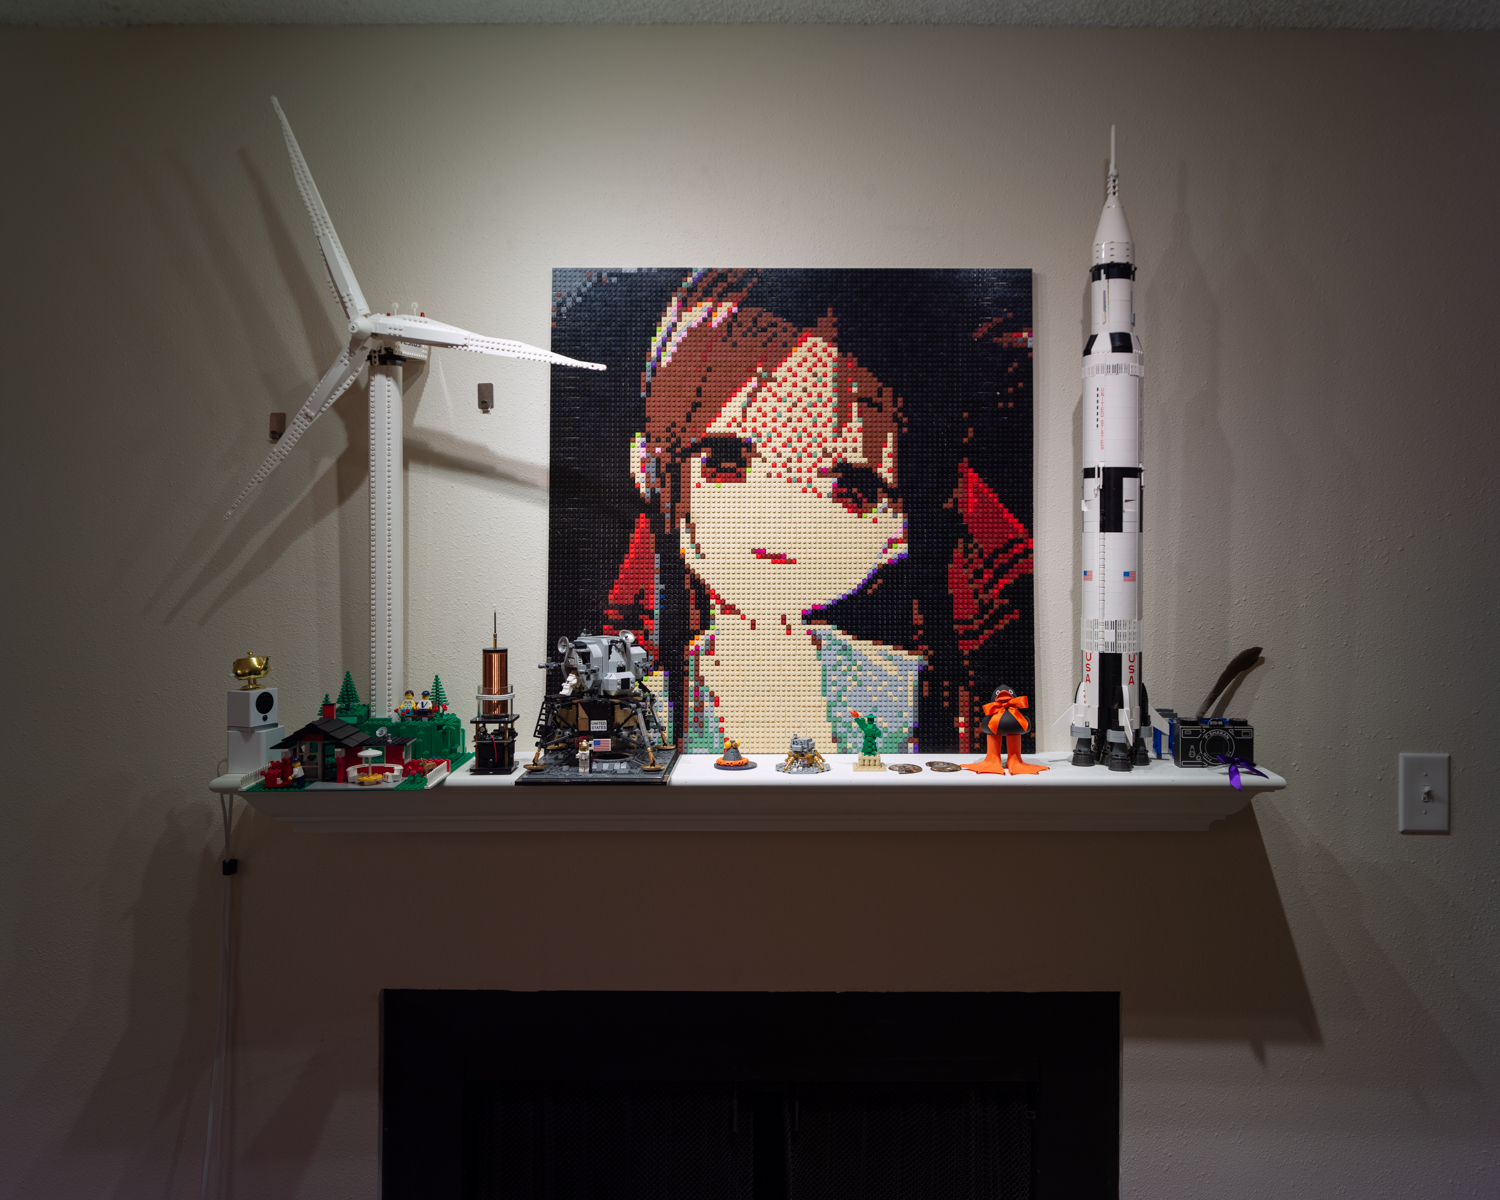
Interested friends can give it a try too!